.png)
Adding Photos to your Sites Types & Sites
This article will walk you through how to add photos to an individual site and your site type within your campground settings.
Click here to skip to adding photos to sites only.
Adding Photos to your Sites Types
Start by going to Campground Settings, then select "Site Types & Sites."
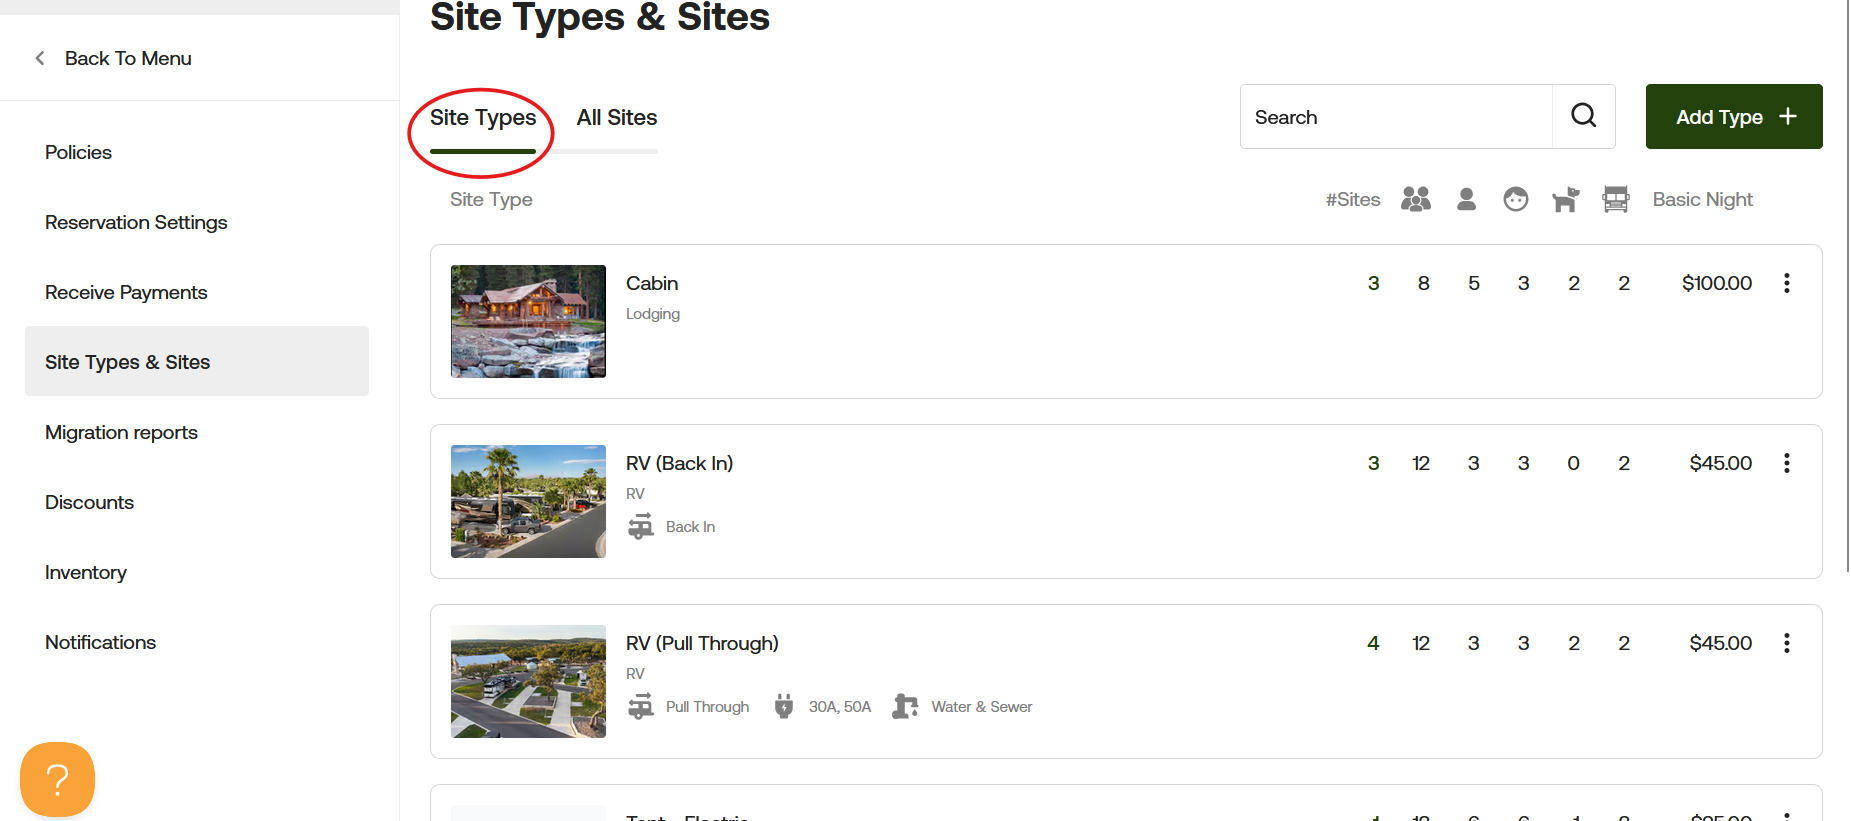
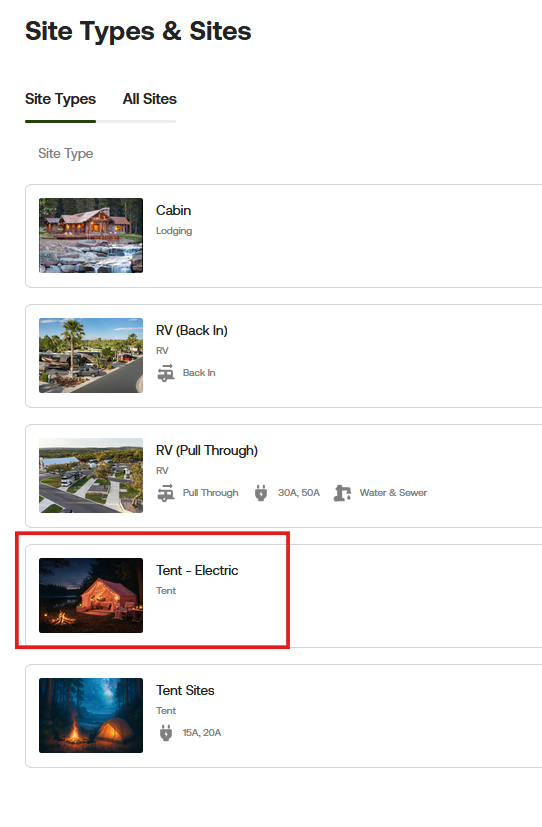
Next, find the site type you want to update and double-click the name.
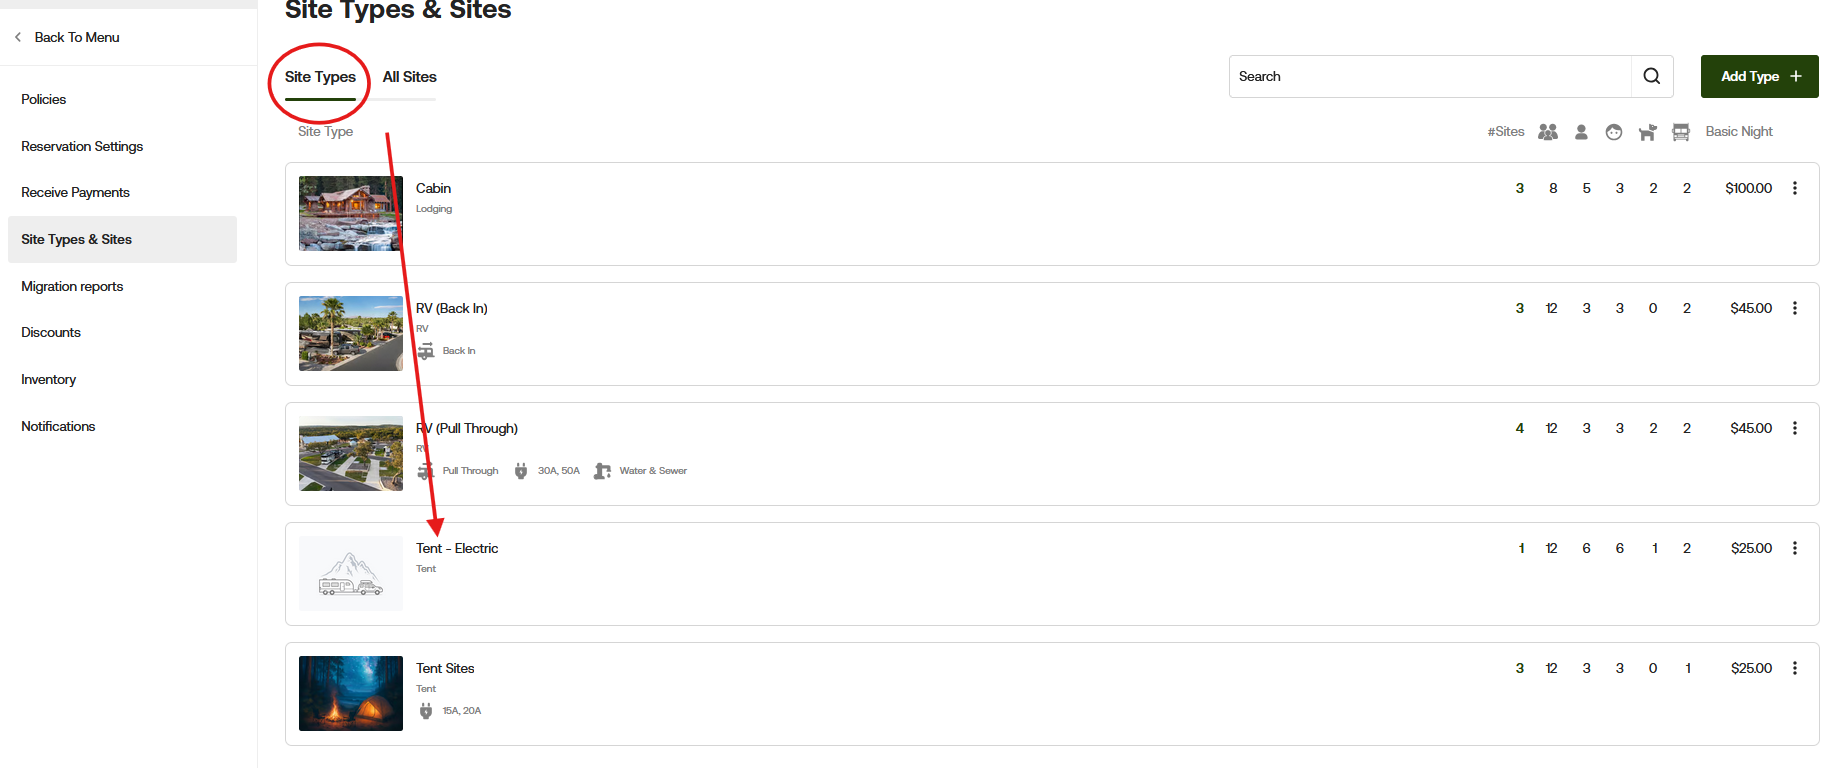
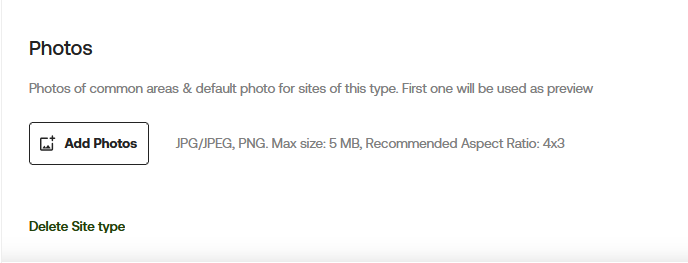
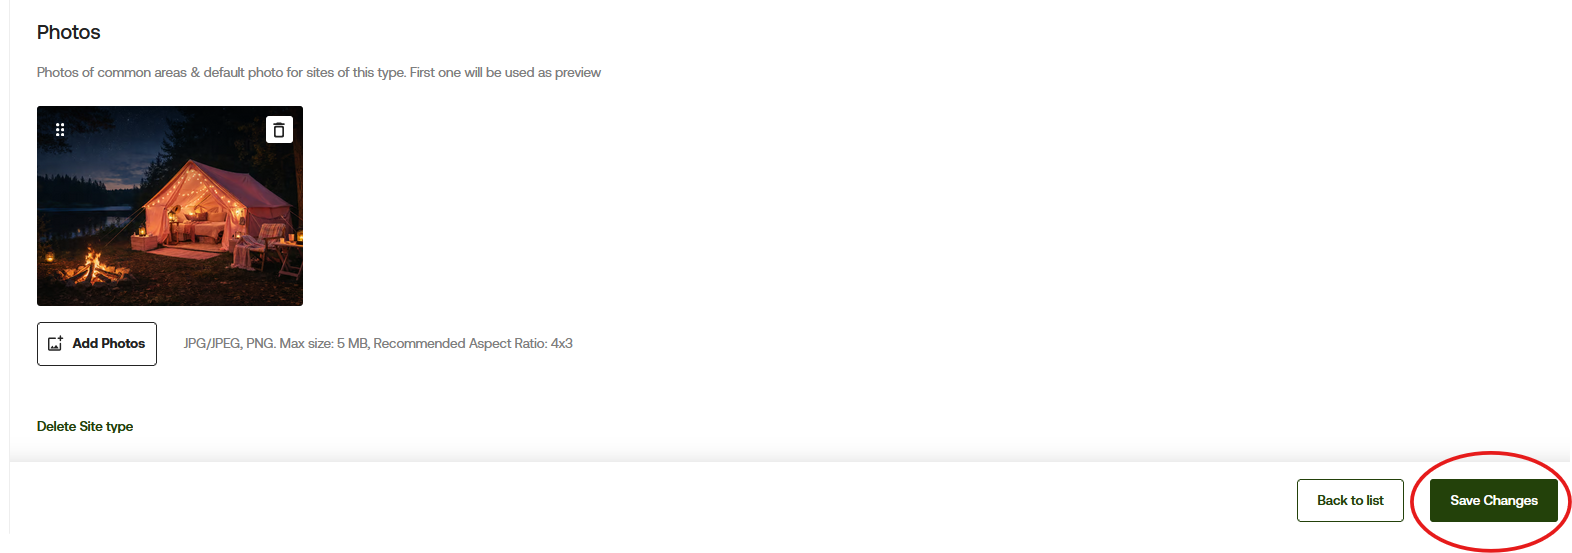
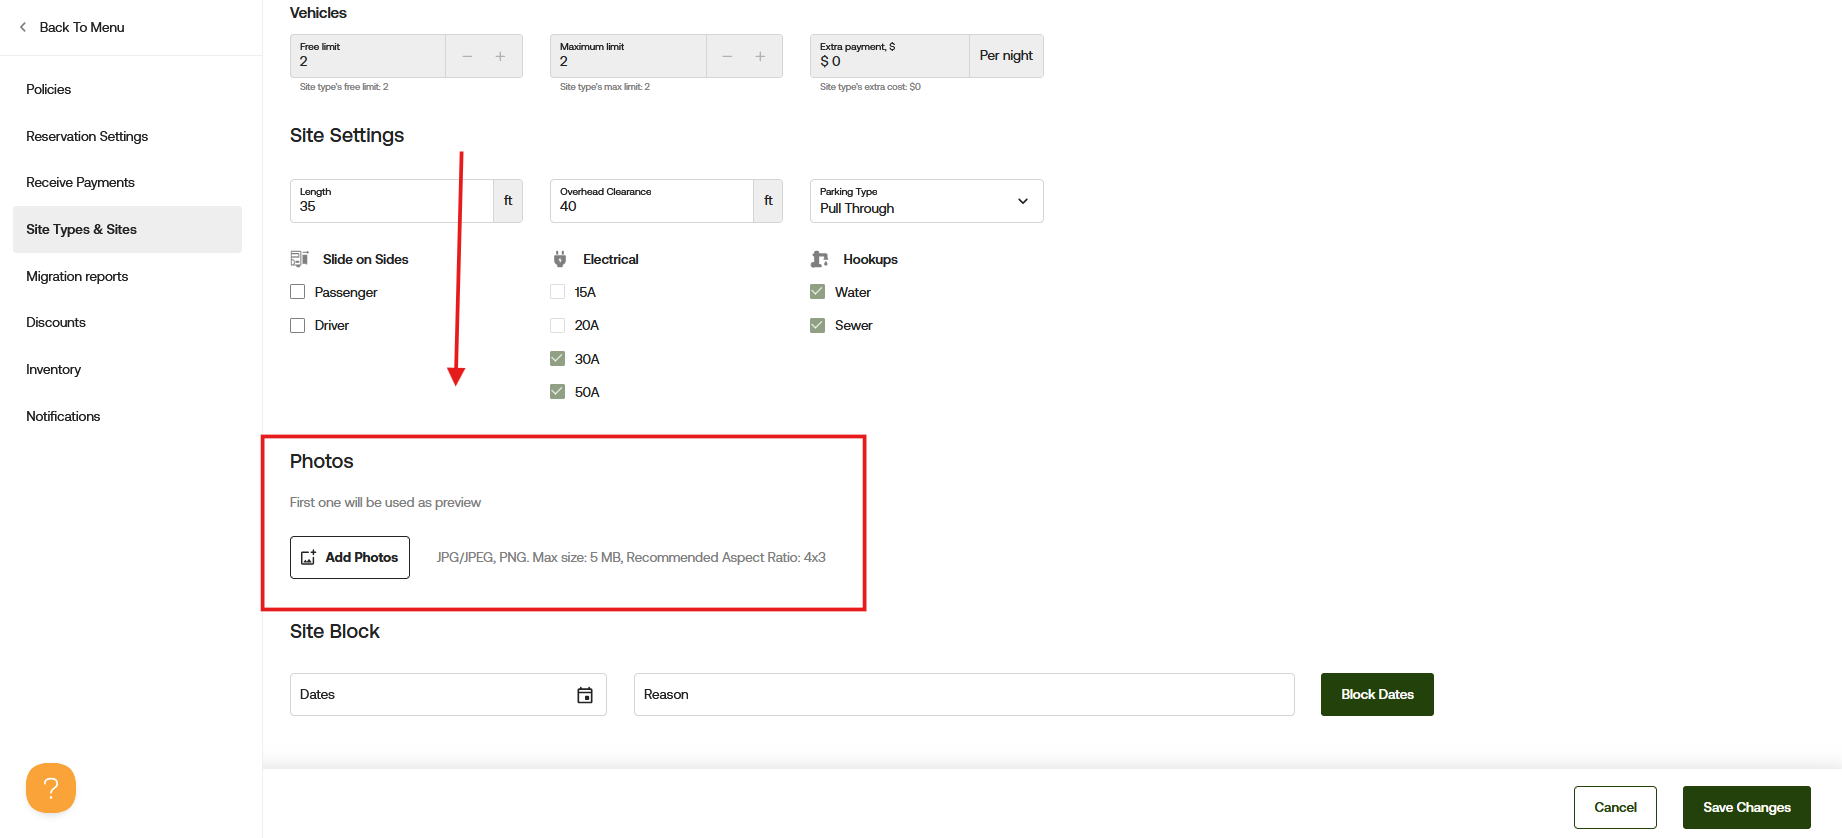
This will take you to the next page. Scroll all the way down and select "Add Photos."
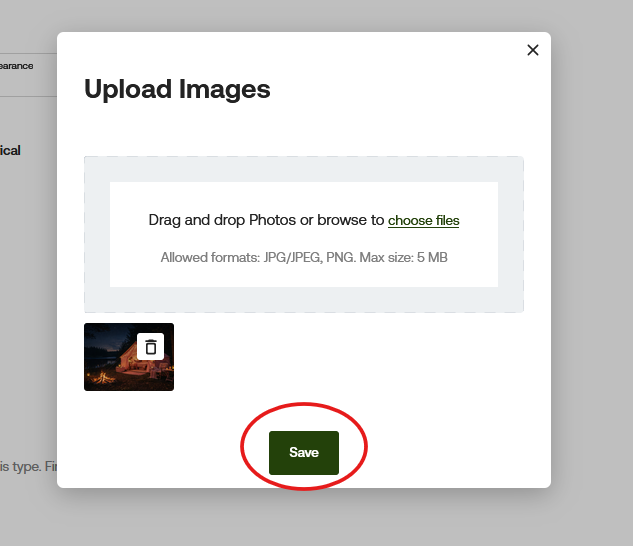
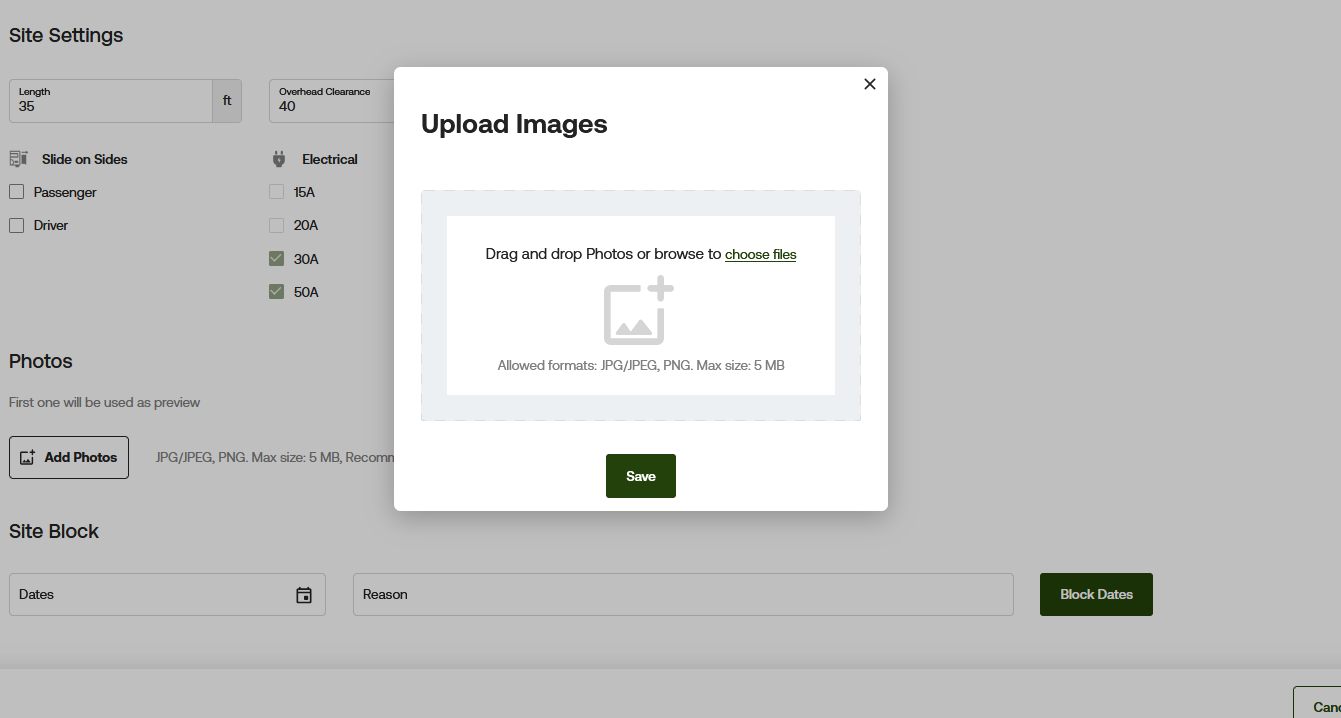
After selecting "Add Photos," a pop-up will appear on your screen. From here, you can drag and drop photos or browse to choose a file.
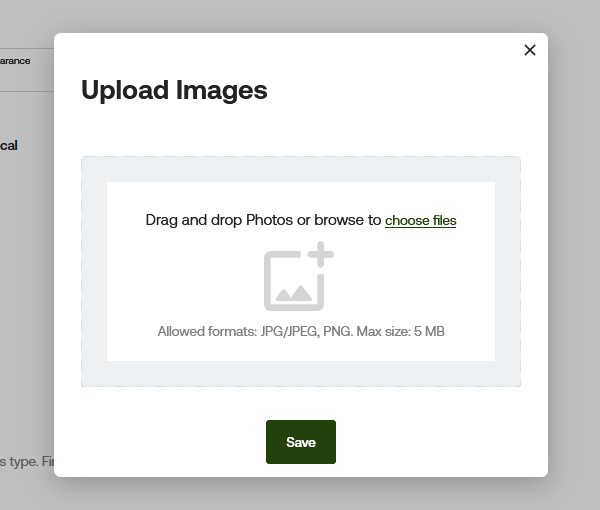
Once you select your photo, it will appear in the bottom left of the pop-up. Click Save to proceed.
After clicking Save in the pop-up, you will be taken back to the Site Types page. From here, click Save Changes again to confirm your updates.
Here is what it will look like within the Campground Settings:
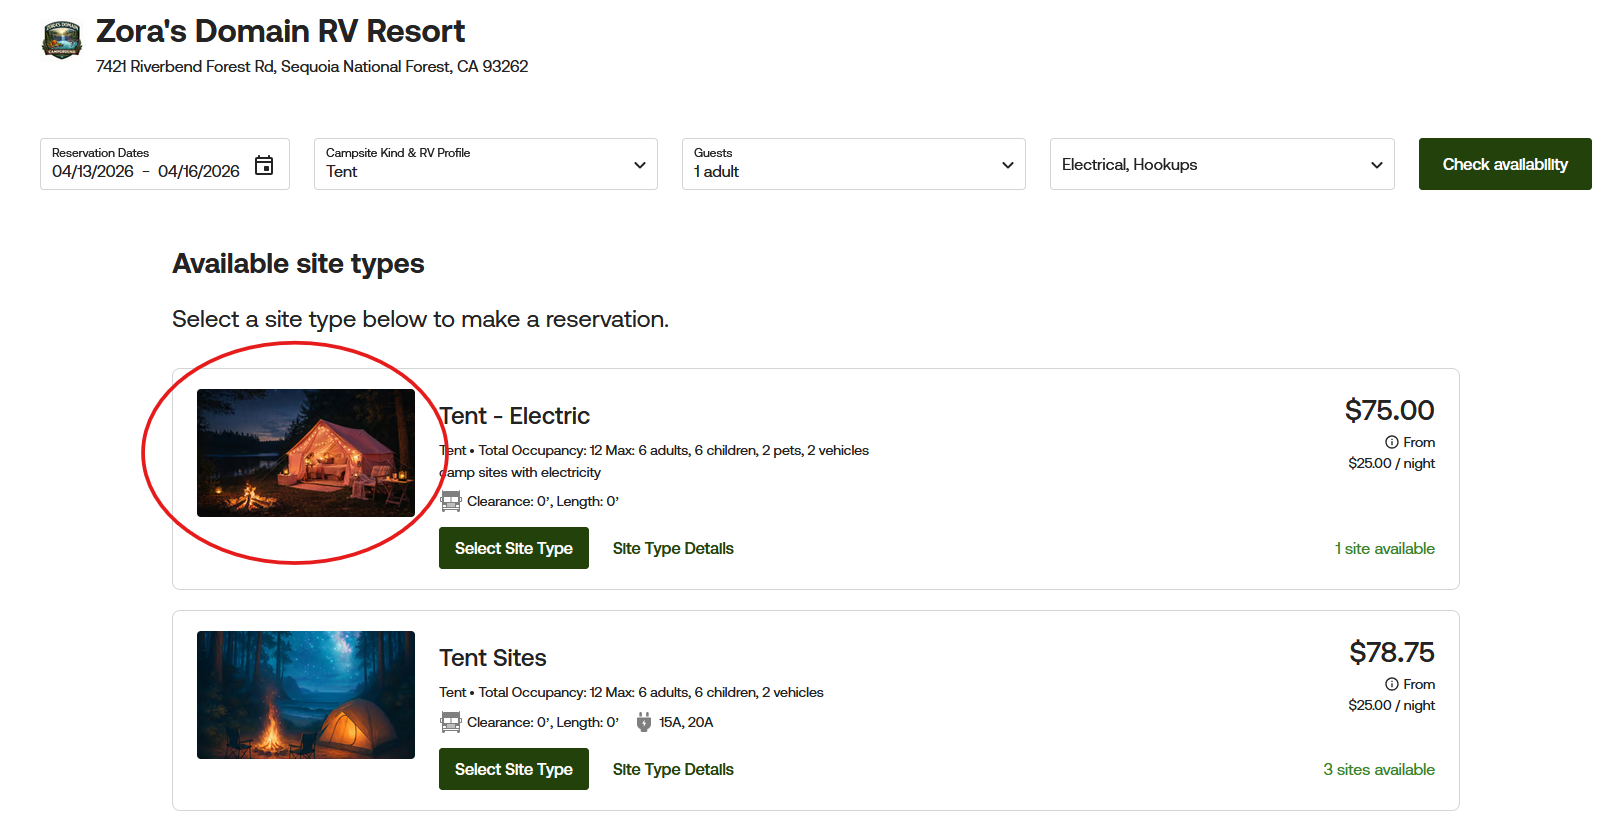
Here is what it will look like within the Guest Portal if your reservations are set to book by site type only.
Adding Photos to Sites Only
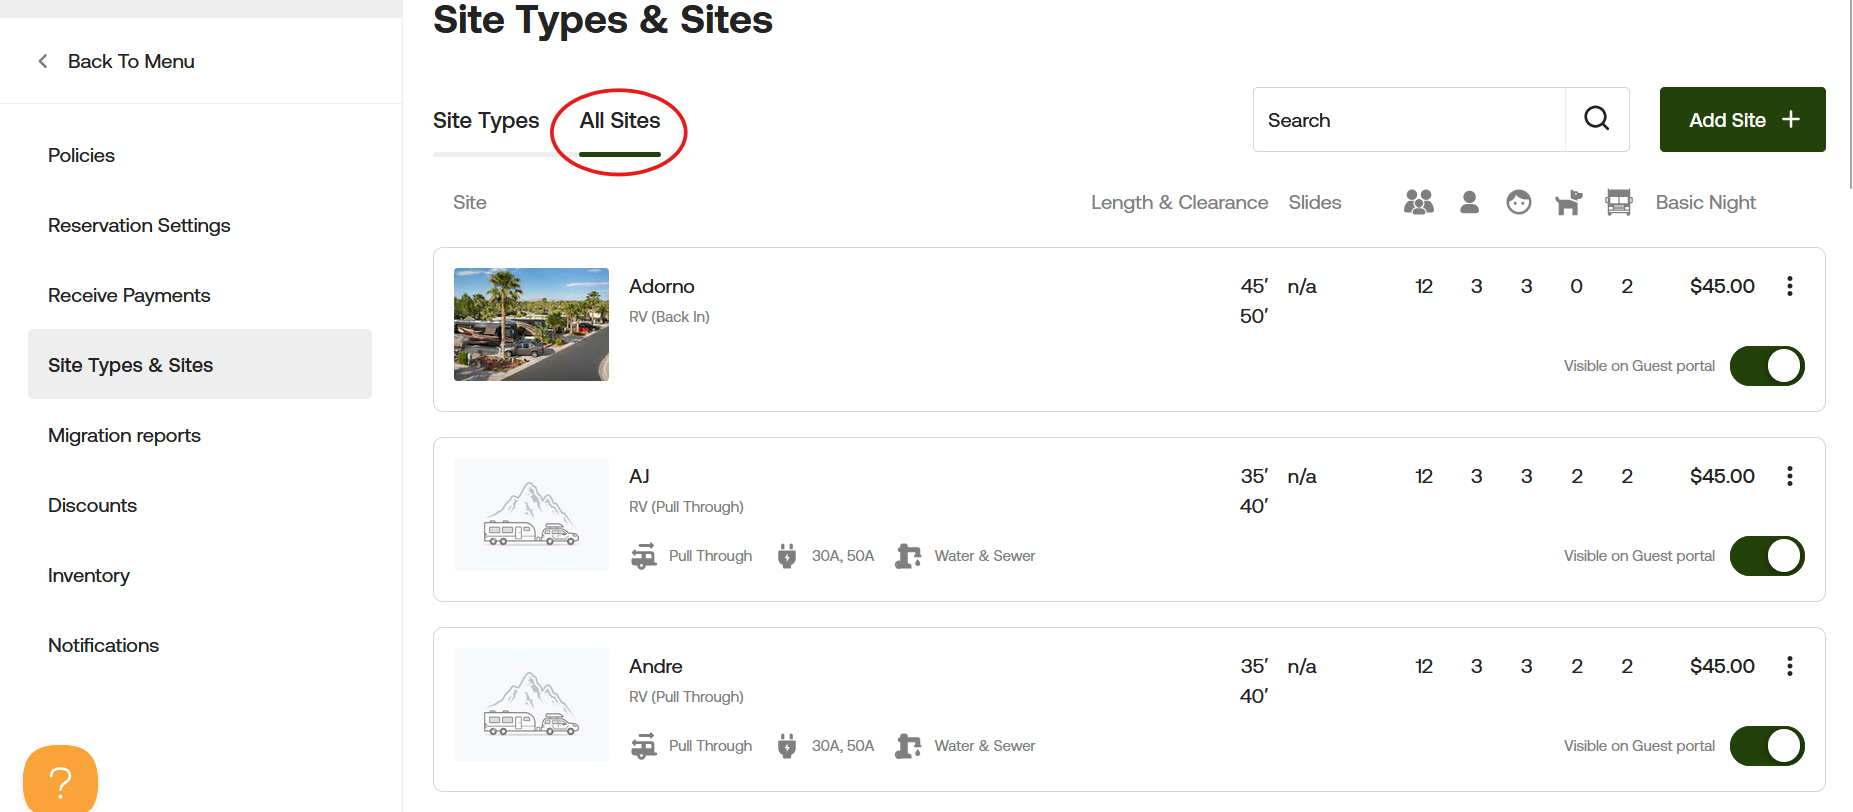
First you will go to Campground Settings, then Click on Site Types & Sites. Click All Sites and find the site you want to update and double click on the site name to open it.
Next, scroll to the bottom of the page and locate "Photos." From here, select "Add Photos."
After selecting "Add Photos," a pop-up will appear on your screen. From here, you can drag and drop photos or browse to choose a file.
Once you select your photo, it will appear in the bottom left of the pop-up. Click Save to proceed.

After clicking Save in the pop-up, you will be taken back to the Sites page. From here, click Save Changes again to confirm your updates.

Here is what it will look like if your reservations are set to book by site and images have been uploaded:

Need more help?
If you have any questions or want clarification on how to add photos to sites or site types, please reach out at [email protected] and we can review it with you.